How to Set Up a Solar Cellular Camera in 5 Steps
Setting up a solar-powered cellular trail camera is simple when following a clear sequence. For broader operational context, consult the main guide.
Step 1: Unpack and Charge the Integrated Solar Battery
Begin by unpacking the Solar Cellular Camera. Before field installation, fully charge the internal battery via a micro USB cable 8-10 hours to ensure full power. The included 4W solar panel will maintain power once deployed outdoors.Step 2: Install Local Storage Card
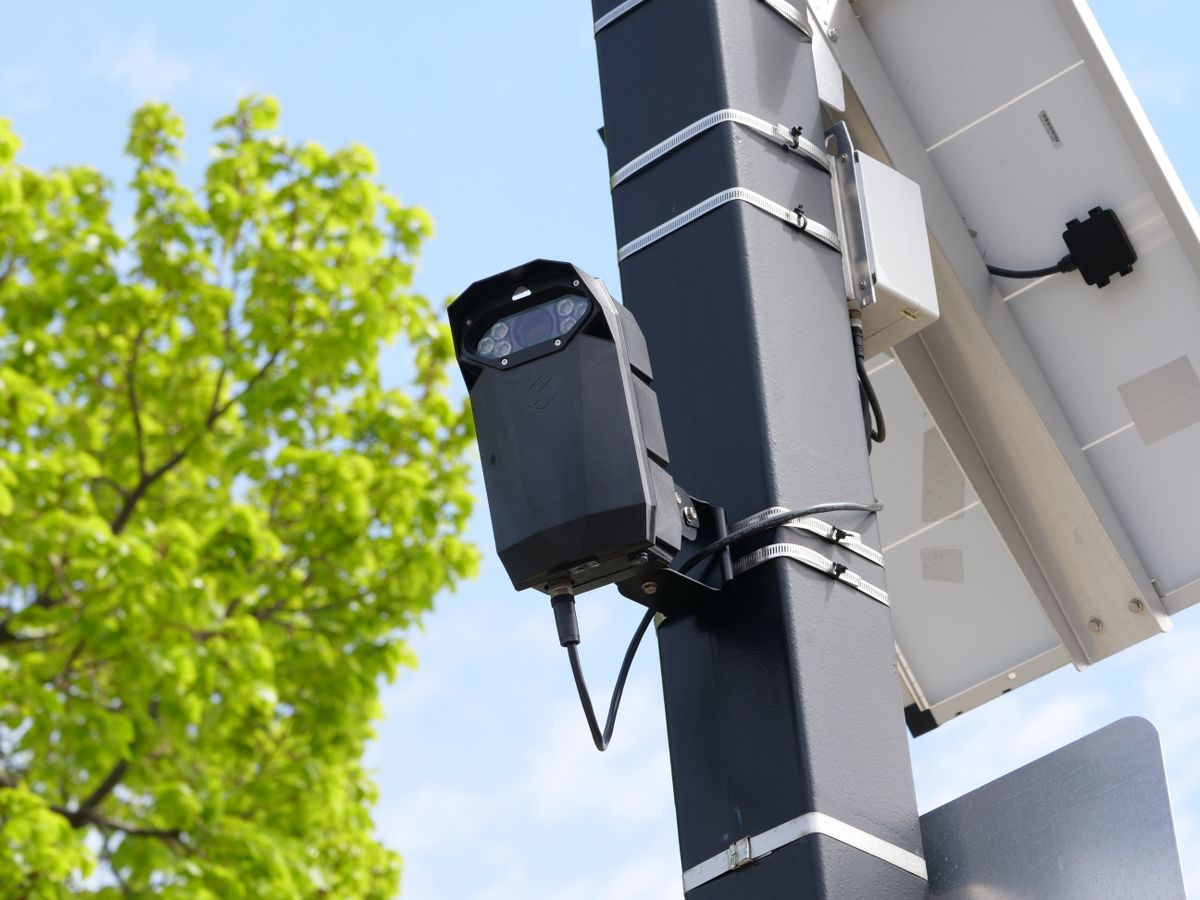
Photo by Giant Asparagus on Pexels
If using physical storage, insert a compatible MicroSD card (up to 128GB capacity, not included) into the designated card slot. Alternatively, you can rely on cloud storage, which includes a 30-day free trial for new users.
Step 3: Download and Pair the Mobile App
Download the free Ucon App on your iOS or Android smartphone. Open the app, create an account, and follow the on-screen prompts to pair your new camera using the onboard registration code.Step 4: Choose Data Plan and Activate Cellular SIM
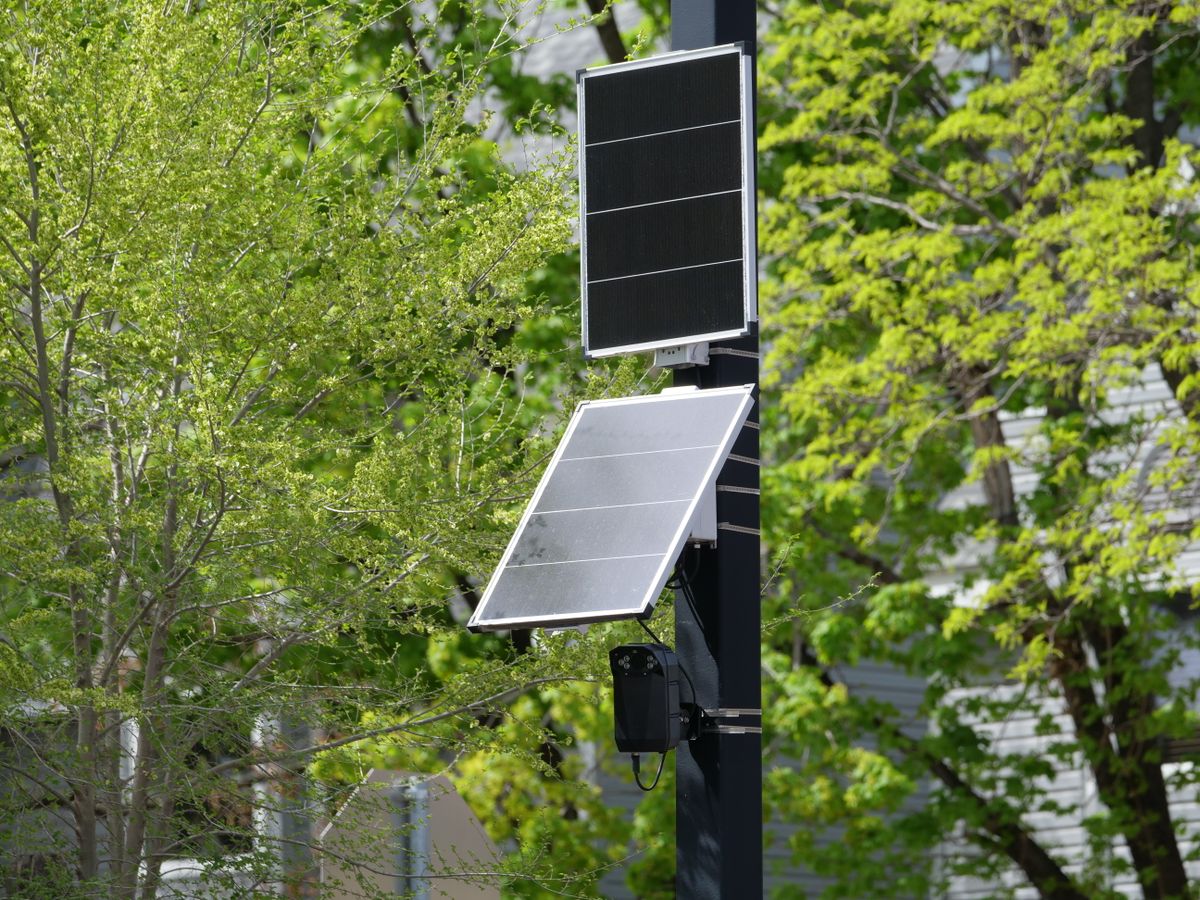
Photo by Giant Asparagus on Pexels
The camera includes a built-in prepaid 4G LTE SIM card pre-loaded with 300MB of trial data. Upon initial setup in the Ucon App, select an ongoing data subscription plan suited to your budget, which ranges from $19.9 per month to $169.0 per year per device.
Step 5: Mount the Camera and Solar Panel in the Field
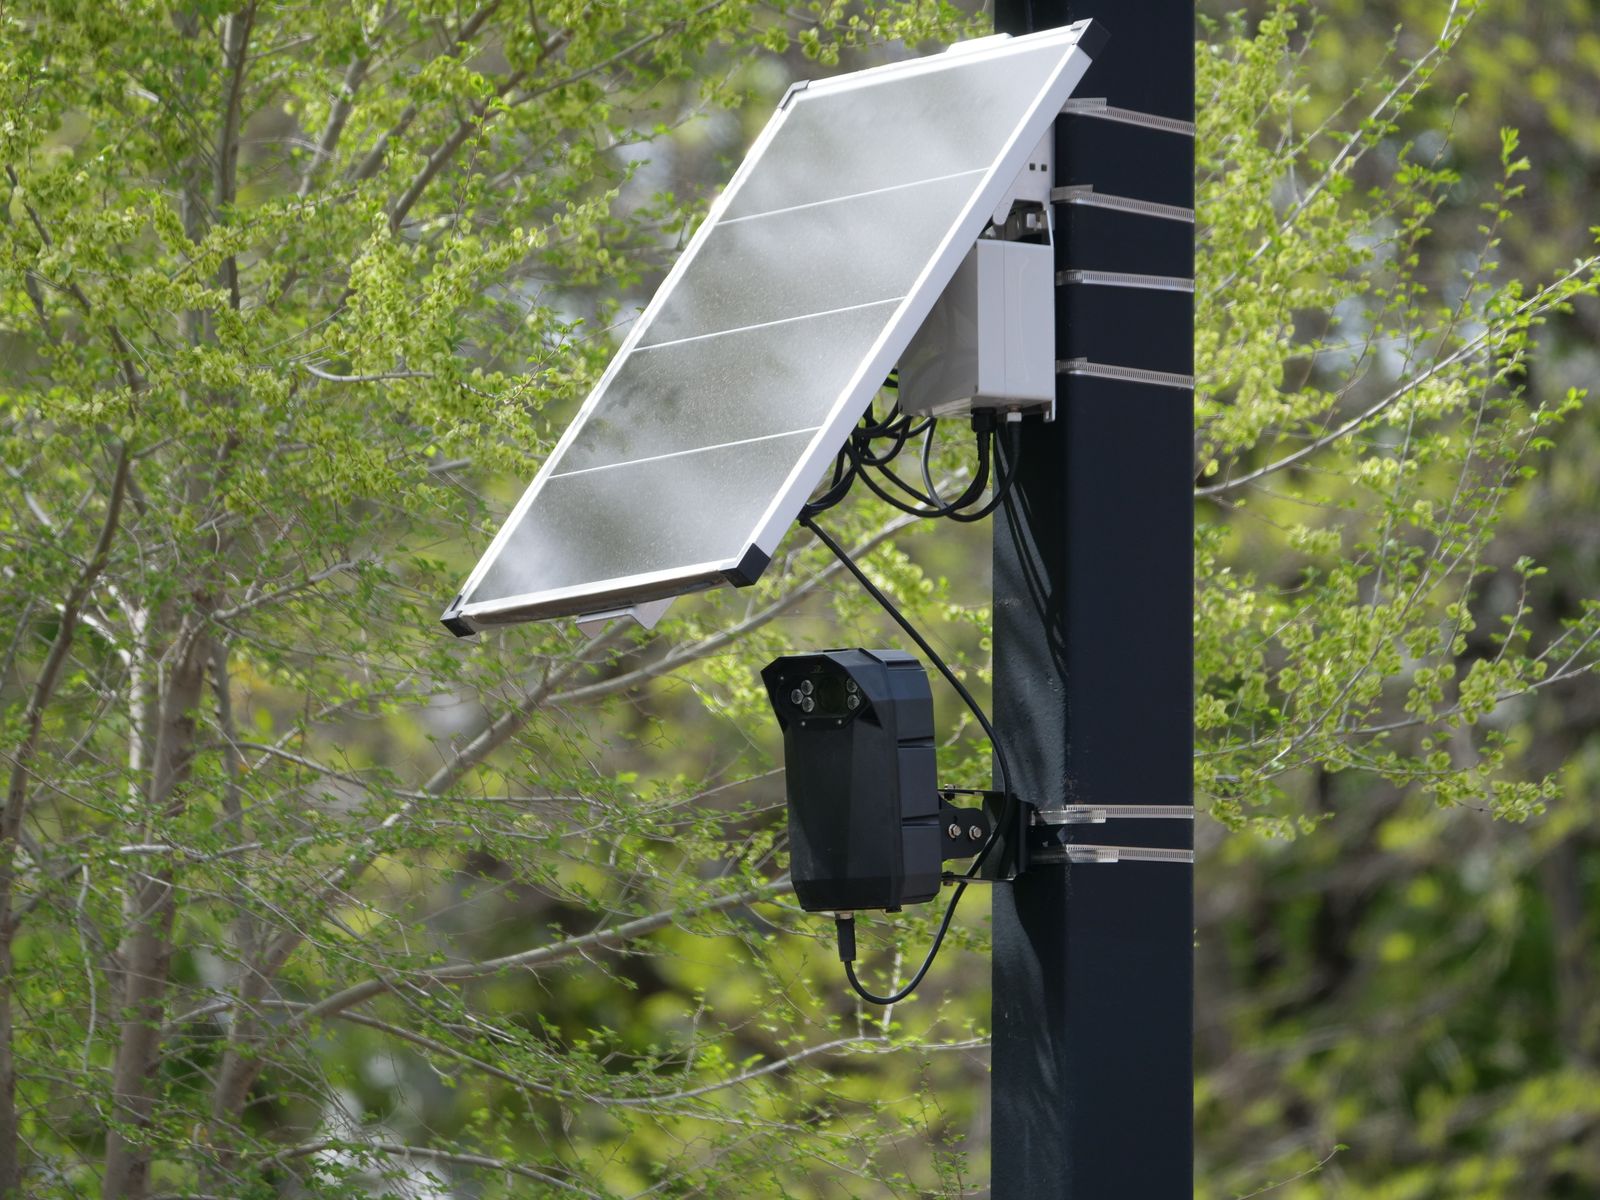
Mount the unit at your target site—such as a farm, ranch, cabin, or forest path. Ensure the 4W solar panel faces south or receives direct sunlight. Confirm that the 120-degree wide-angle lens has a clear line of sight, and test the fast 0.2s trigger speed by walking in front of the lens to check app notification alerts.Read the full guide: The Complete Guide to Solar Cellular Trail Cameras: How They Work, Setup, & Features
Cover photo by Giant Asparagus on Pexels.